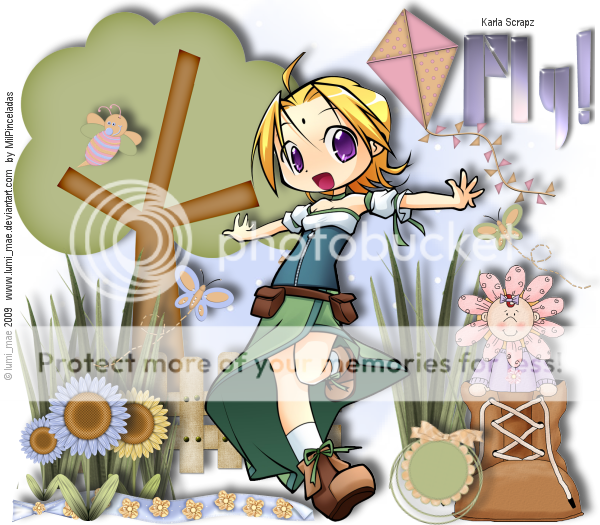
This tutorial I've done with the cheerful Scrap FTU **Canary Yellow**, of Seachell´s Scrapz, done by Seachell. You can get it here.
I used the art of Bret Denslow http://puni.usanethosting.com.
You can download the tube HERE.
Mask download HERE.
Start:
1 - Open a transparent layer 600x 525 pixels, paint it white, color: # FFFFFF.
2 - SEACHELL_ YELLOW_ PAPER 3. Image- Resize, size in pixels, width: 600, height: 600 pixels. Apply the mask 179. New masks layer,
from image. Masks-Delete.
3 - This last layer apply the plug-in Graphics Plus, effect: Cross Shadow. See capture.

- So that when we finish our work we are not surprised that the mask has left
a mark on the edge of our image will do the following:
- Click on the layer mask, go to the lasso tool. See capture.

- Stretching the image to see better the result, we will take on the frame blue
that has the tag around and with the arrows stretch to the outside
- Select with the lasso around the mask where it loses its color,
see capture. Let's Select-Invert and DELETE key twice.

4 - BLUE TUBE. Image-Resize, size in pixels, width: 349, height: 500 pixels. Edit-Copy. Edit-Paste as new layer.
5 - SEACHELL_ YELLOW_ ELEMENT32. Image- Resize, 32% of the original. Edit-Copy. Edit-Paste as new layer.
6 - SEACHELL_ YELLOW_ ELEMENT33. Image- Resize, 45% of the original. Edit-Copy. Edit-Paste as new layer.
7 - SEACHELL_ YELLOW_ ELEMENT9. Image- Resize, 40% of the original.
Image-mirror. Edit-Copy. Edit-Paste as new layer.
8 - SEACHELL_ YELLOW_ ELEMENT23. Image- Resize, 20% of the original. Image-Rotate: 8° to the right. Edit-Copy. Edit-Paste as new layer.
9 - SEACHELL_ YELLOW_ ELEMENT10. Image- Resize, 22% and 17% of the original.
Edit-Copy. Edit-Paste as two new layers.
10 - SEACHELL_ YELLOW_ ELEMENT27 and 28. Image- Resize, 25% of the original. Edit-Copy. Edit-Paste as two new layers.
11 - SEACHELL_ YELLOW_ ELEMENT4. Image-resize size in pixels, width: 347,
height: 92. Image-Rotate: 180 degrees to the left. Edit-Copy. Edit-Paste as
new layer.
12 - SEACHELL_ YELLOW_ ELEMENT12.Image- Resize, 14% of the original. Image-Rotate: 55º left wing. Edit-Copy. Edit-Paste as new layer.
13 - SEACHELL_ YELLOW_ ELEMENT18. Image- Resize, 7% of the original.
Edit-Copy. Edit-Paste as two new layers. One of them. Image-Rotate: 35º to the right.
14 - SEACHELL_ YELLOW_ ELEMENT19. Image- Resize, 7% of the original. Image-Rotate: 35º to the left. Edit-Copy. Edit-Paste as new layer.
15 - Shade all elements, using the plug-in Eye Candy 3.1, Effect: Drop Shadow. See capture. Color: # 141212. Be careful when putting the value of the direction, is 24. If any element, when apply the shadow left off, move it to the center of the image, apply the effect and then place it.

16 - Now with font KRISTN ITC, size 48, background color #3F750D. Write the title of the tutorial: Libre!. stretch the letters a little bit upwards.
See final image. Layers-Convert to raster layer.
17 - At the title you are applying the plug-in Graphiocs Plus effect: Cross
Shadow.
18 - And ... the plug-in Artistic, effect: Cool. See capture.
19 - Now we apply shadow with plug-in Eye Candy 3.1, Effect: Drop Shadow. See capture.

20 - We give credit to the artist and Scrap. put our name.
21 - Layer-Merge, merge visible layers.
22 - keep the tag as a JPEG image. File-Export, JPEG optimized. I hope you enjoyed as much as I making it!
If you have any questions ask me.
Greetings, MilPinceladas.
Translated by Gely.


![[leather+somb.jpg]](https://blogger.googleusercontent.com/img/b/R29vZ2xl/AVvXsEh-oqufSTb76rMf2Zxre3fzmDOEIpczPcOdBkI9oePplyZmPXfgN2IBkmeZX4VW1A2D_0ooChhJyhyphenhypheno5UVYBDjONaBVHndv_Bz-eB1WKjRSGftkA9wSShEryMGf0l3f5iRs1_wh25TSDLPv/s1600/leather+somb.jpg)