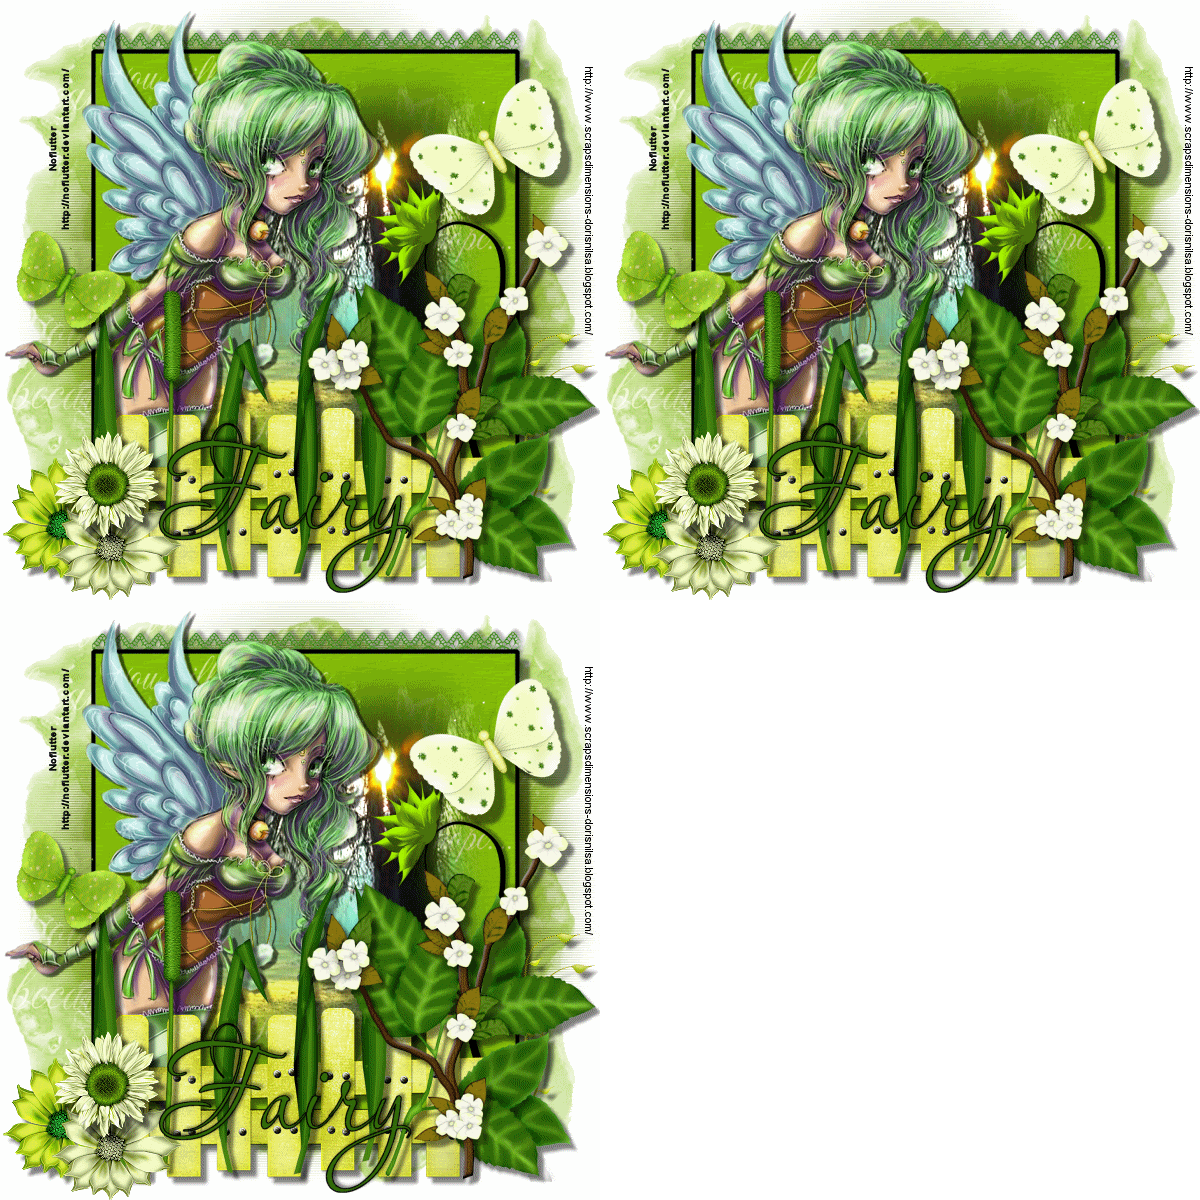
Tutorial done with the fantastic Scrap FTU "Hopeful Green", of Scraps Dimensions. You can find it HERE.
I have also used an artist tube FTU of Noflutter http://noflutter.deviantart.com/ Tube HERE.
Additional material download HERE..
Plugin: Filter Eye Candy 4000/Jiggle.
Start:
1-Open a new transparent layer 600x600 pixels and color it white.
2-Open a new raster layer, go to selections/select all, copy and paste PAPER1, selections none, to that same layer apply the mask mkuy, go to mask/new from image, invert checked and luminosity of origin checked. Apply the mask. Mask/delete. Say yes.
3-Open a new raster layer, go to selections/select all, copy and paste PAPER9, selections none, to this same layer apply the mask 911_teplate_bylnc, go to mask/new from image, luminosity checked and apply the mask, go to mask and delete. In the layer palette lower the opacity to 60%.
4-Paste the Frame scene as a new layer.
5-Paste the girl tube as a new layer, see the final image where it is placed.
6-Now we paste as a new layer each element that I will tell you and you can see in the final image.
Resized elements:
-Element FENCE, resize 70%. Sharpen
-Element GRASS, resize 50%. Sharpen
-Element FLOWER1, resize 27%. Sharpen
-Element FLOWER3, resize 27%. Sharpen
-Element SUNFLOWER2, resize 27%. Sharpen
-Element LACE RIBBON, resize 75%, goes behind the frame scene, erase with the eraser tool in the side if something is left over so that it is adjusted to the frame
-Element BUTTERFLY1, Resize 37%, image rotate freely 30 degrees to the left, sharpen.
-Element BUTTERFLY2, resize 18%, image rotate freely 30 degrees to the right, sharpen
-Element LEAVES, image rotate freely 90 degrees to the left, image/mirror resize 59%, sharpen
-Element DOODLE1, this one goes behind the flowers, resize 25%, sharpen
-Element BRANCH, resize 68%, sharpen
7-To all the elements apply shadow -6,6, opacity 50, blur 5 color black.
8-The name is done with the font Aquarelle size 72, contour black, fill #2E6Ao4. Shadow to your taste.
9-Layers merge visible. To this layer duplicate three times so that I can apply the filter.
10-Apply the filter Eye Candy 4000/Jiggle.
Values:

Note: the filter is applied in the zones that we want the movement, example of how I did the selections to my image below.
Here:

11-Save as a gif.
.........Second Option..........
1-In order to do this tutorial and leave the image without the animated movement and save it as a png, you must follow these steps.
2-We will do the same as the first tutorial from the number 2 till the 8th, where we will save it as a png, make sure that the option transparency is checked. This is what we will have as a final result, even though you cannot appreciated as well over a white background, it has a background transparent and will stay very well on a colored base.

Thank you all, I hope you liked this tutorial. Greetings, Natty
Translated by Silvia




0 comentarios:
Publicar un comentario